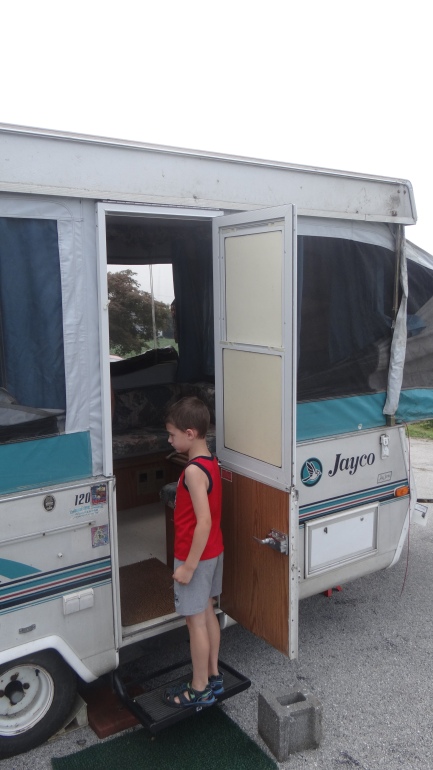
Ready to camp!

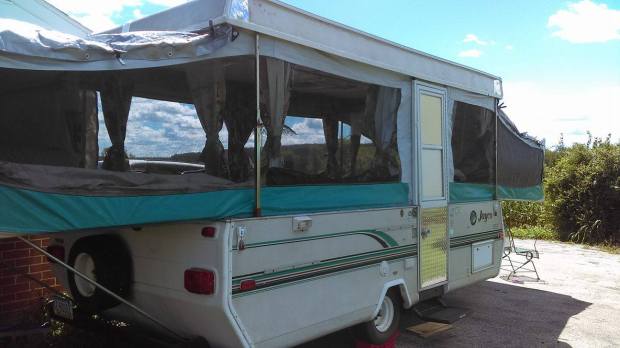
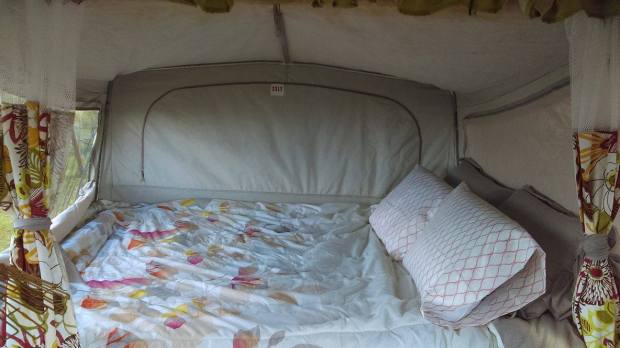
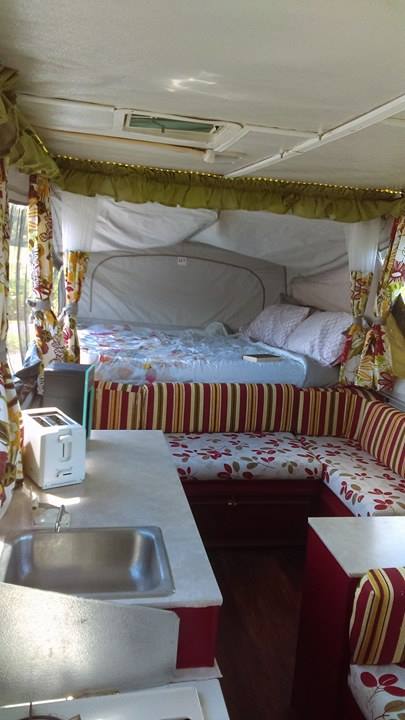
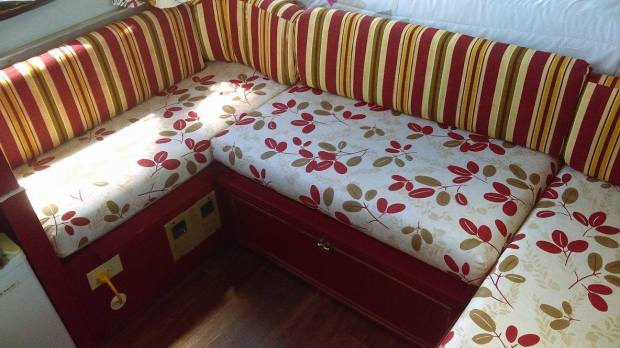
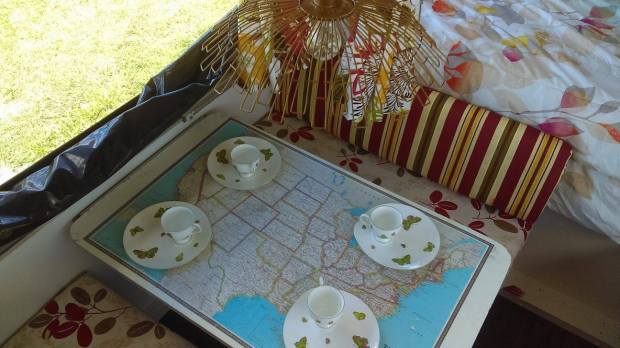
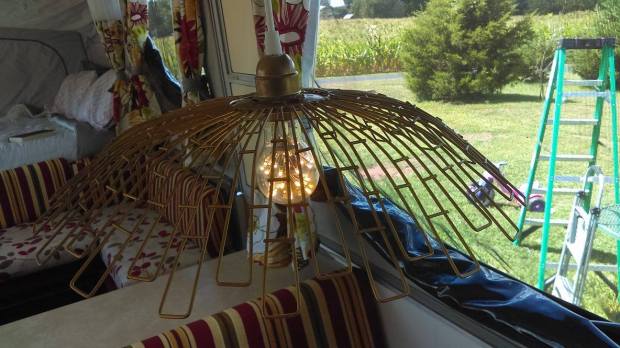
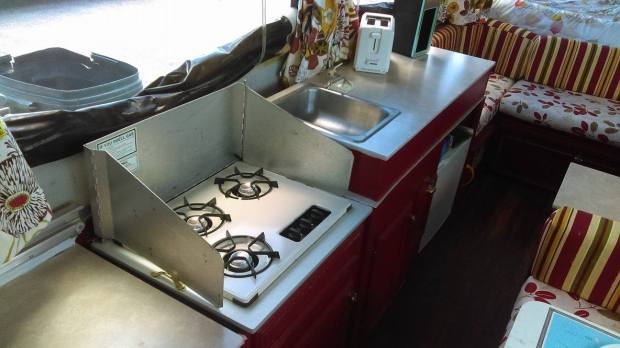
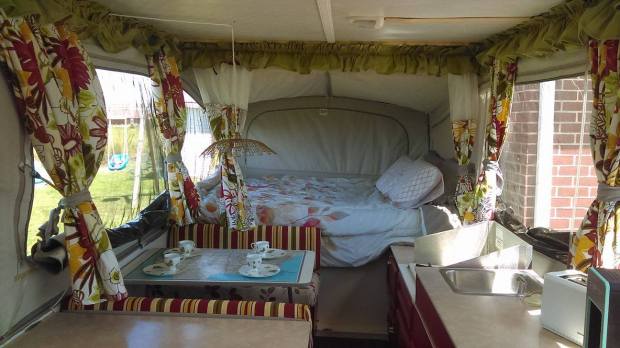
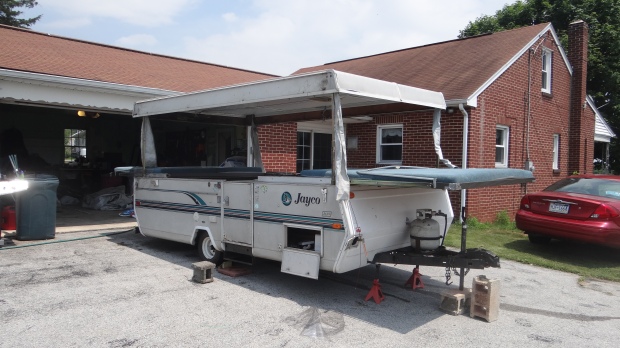
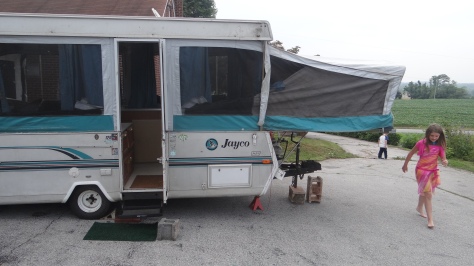
So she is a month overdue, but it was worth the wait, may I present our finished camper!

14124212_10100996021686826_441199511_o14124208_10100996021646906_1258719440_o14113835_10100996021387426_1216111417_o14111833_10100996021542116_1494752434_n14060180_10100996021477246_623005628_o14075010_10100996021402396_1856628382_o14060137_10100996021357486_817657525_o14075009_10100996021362476_764996165_o14114126_10100996021422356_1079408666_o

Still have loads of little jobs to do, put the screen back in the door and fix the door jamb, but now the camper is water tight and ready for a driveway adventure!

Remaking side outs

So I have thrown around many incorrect words in my learning curve, I called it the canvas was in good shape, well ours had an upgrade, it was vinyl over fabric, just the windows and binding were canvas.  They were deteriorating because of the mildew on them.  I ended up detaching the windows and cutting the fabric bits off. and using them to pattern out the new parts.  I used outdoor fabric from Joanns here. Lets start with the edging that holds the elastic.

DSC03598

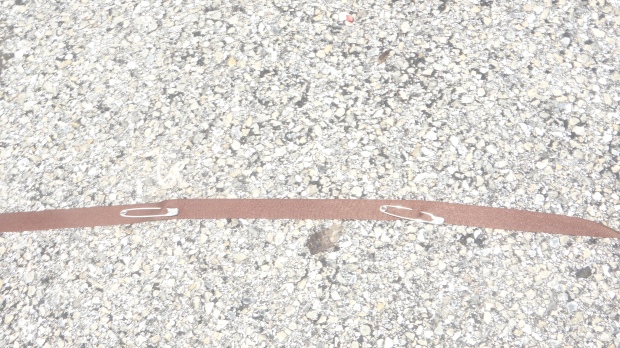
I used some scrap ribbon and safety pins to mark where the grommets were suppose to be for the ins and outs.

DSC03599

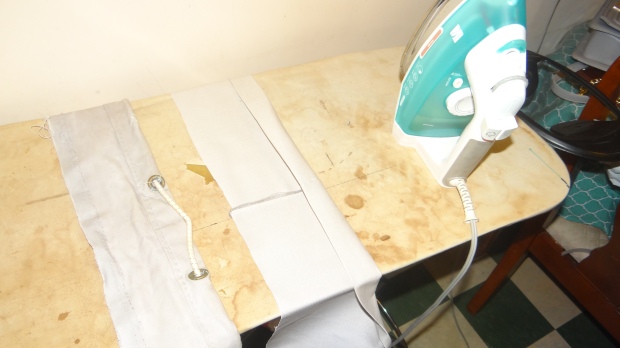
I then measured the width and cut about 4.5 strips and serged them together.  I then used my iron and pressed the hem in.

DSC03597

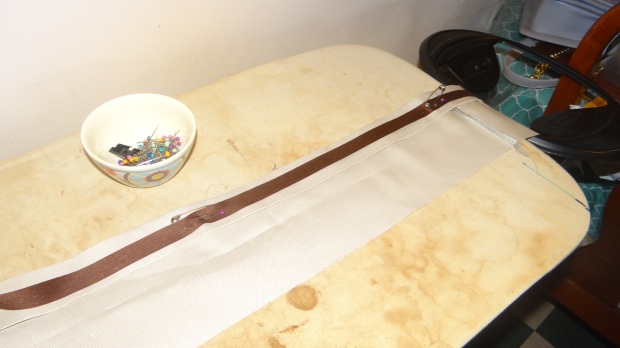
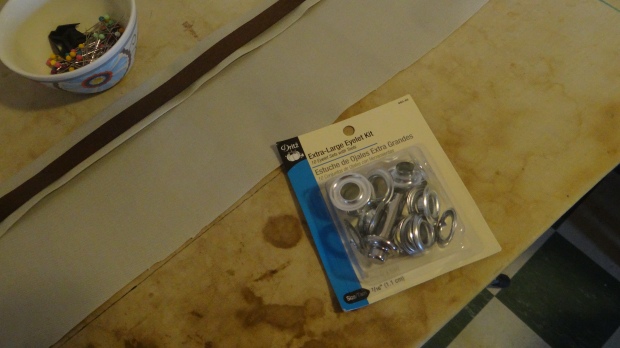
Then using the ribbon as a guide I added the grommets.

DSC03601DSC03602

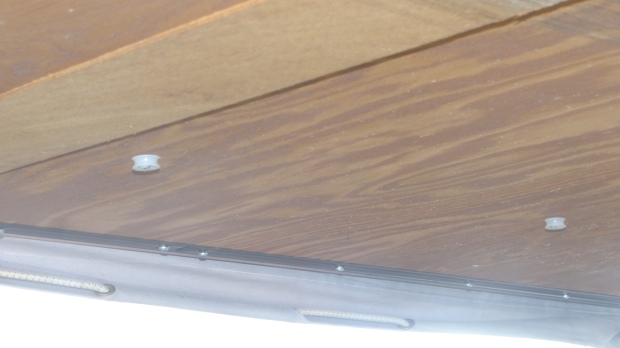
After the grommets I sewed the straight seam of the hem.  I then used this elastic off of amazon and threaded it in and out of the appropriate holes.  I then looped it at each  and then took my machine outside and added the new strip to the canvas.  The elastic was tight.  Then I finished with 303 Fabric Guard, amazing stuff by the way.  For the windows I simply used the old ones and made a pattern.  I then hand sewed them to the zippers that I did not remove from the canvas and then used the 303 Fabric guard again.  It took several hours but I didn’t have to spend $400 plus on a new sideout of vinyl.

Roof Rebuild Part 4

So commence the list of swear words we used trying to get the aluminum to fit…


…. wait, this is suppose to be family friendly, so we can skip the list.  We did end up getting the aluminum back on, but in that we found we had to use decking finishing screws to get the ridge for the sealer back in place.  they were also 1 1/4 screws.  Once it was all back together we put all of the trim pieces back on.  I then used the prescribed sealant this was the best I found it holds well and kept to aluminum skin nice.

We also installed a new vent that had a fan included.  Here is the one we purchased

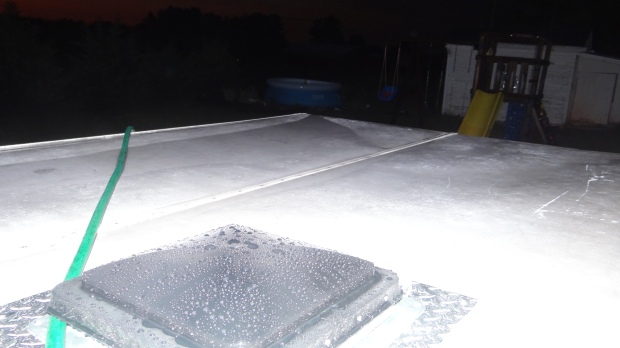
After we did that we let the camper sit closed after a rain storm and there were puddles on the roof.

DSC03592

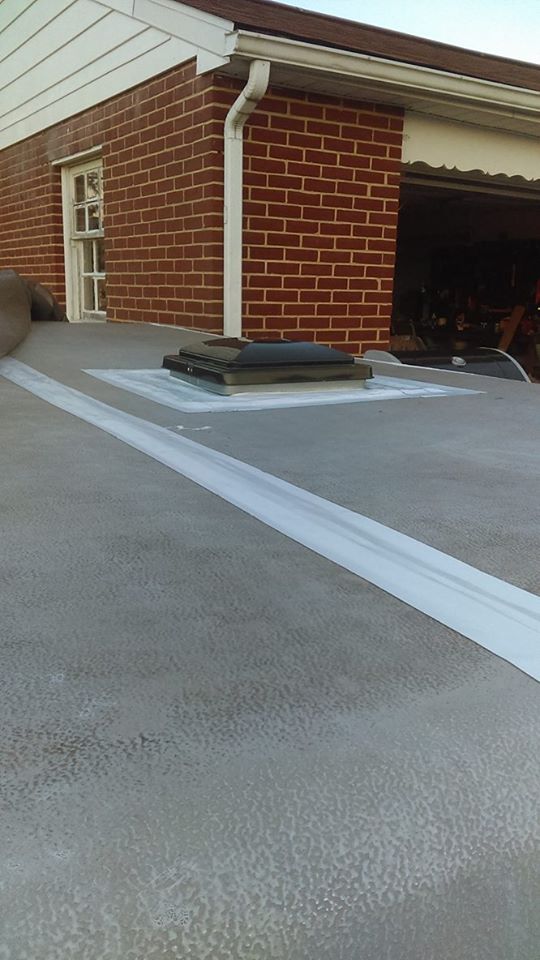
So today, after a considerable amount of thoughts, we have added Eterna Bond over the sealant and down the middle seam.  This was an amazing product and I am very happy with how it settled down, it was a simple and clean application

Here is what the roof looks like now.

14055594_10100993094567796_912137787_n

Rebuilding the Roof – Part 3

Fiberglass day!!!

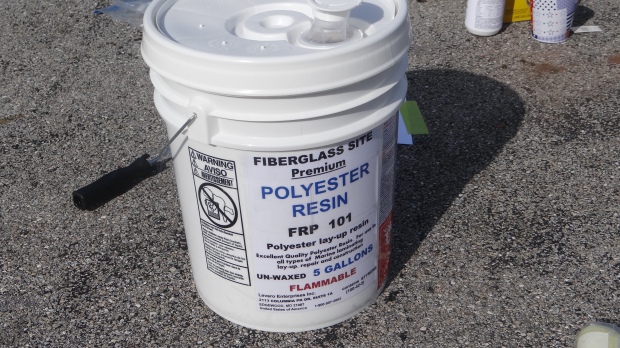
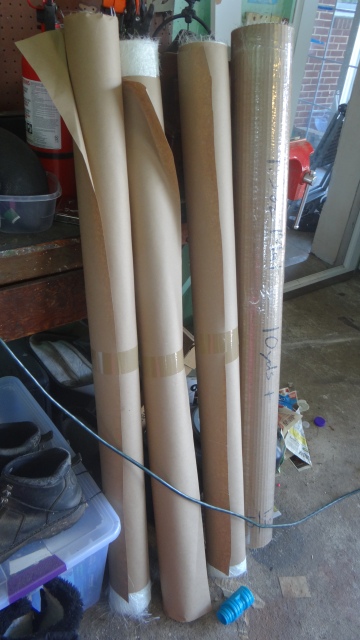
To do this, you need the following, three new paint trays, 2 of which will be scrapped, so don’t spend a ton.  We used 2.0 oz and 1.5 oz chopped mat from fiberglasssite.com.  We also used polyester resin, 5 gallon bucket.  You will also need 1/4″ mat rollers (2) and 2 paint roller frames.

DSC03556

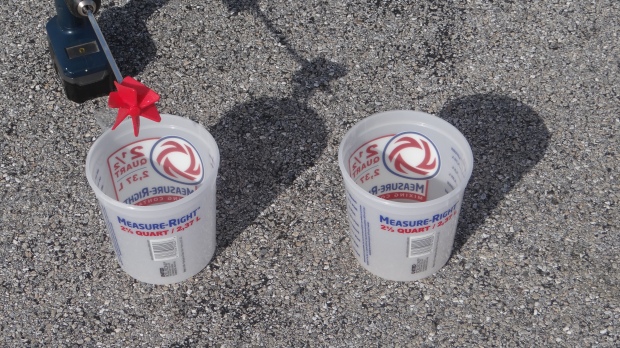
You have to know how hot it is outside when mixing the hardener with the resin.  Also we invested in a paint stirring thing for the resin and it helped us a great deal.DSC03557

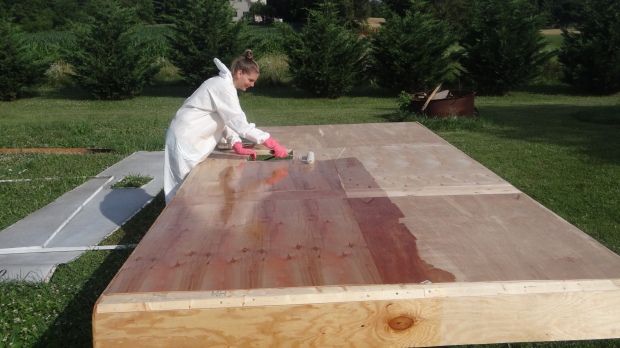
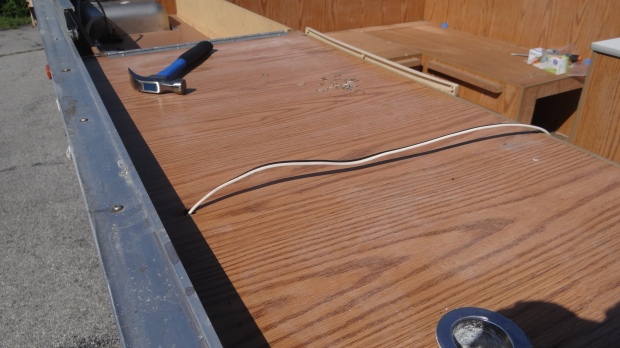
Once mixed, take your first roller and apply.  The wood will absorb the first coat, so we had to put two coats on.  You want the resin in the final coat to be sticky but not puddle wet.DSC03555DSC03559

This was after the second coat and I was giving it an hour to really absorb into the wood.  It was about 90 at 9 in the morning, so it was a really hot day.DSC03560

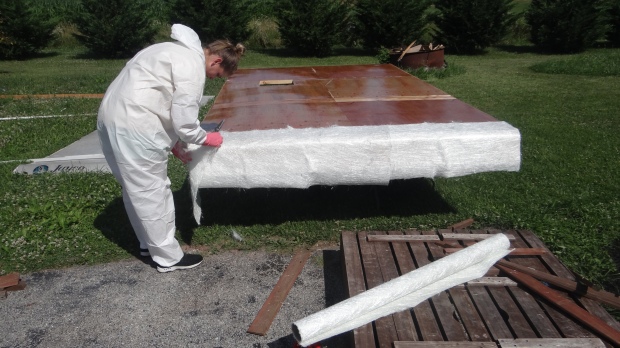
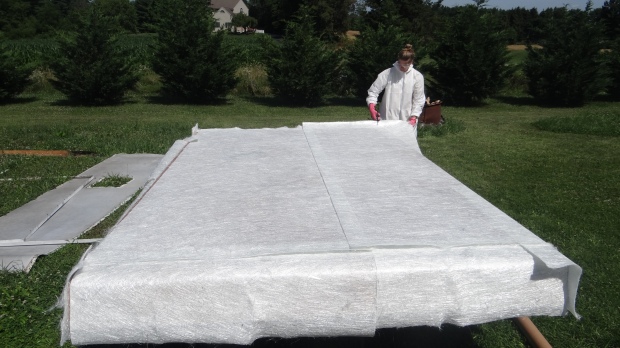
Next I laid out the chopped mat, this is where my dishgloves came in handy, they get covered in chopped mat and resin.  Also, see those wrinkles along the edge, they are your worst enemy, it was bad and it was terrible when we got to other parts.DSC03562DSC03564

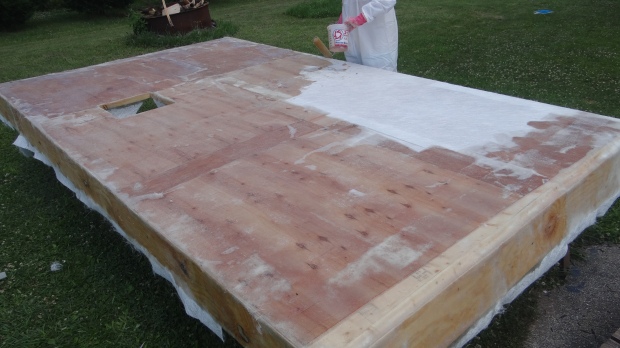
Next applying the coat of resin to the chopped mat, it was really cool to see it go see through, but the resin dried quicker and I had trouble keeping up with it and getting the mat to be flat against the wood.DSC03567

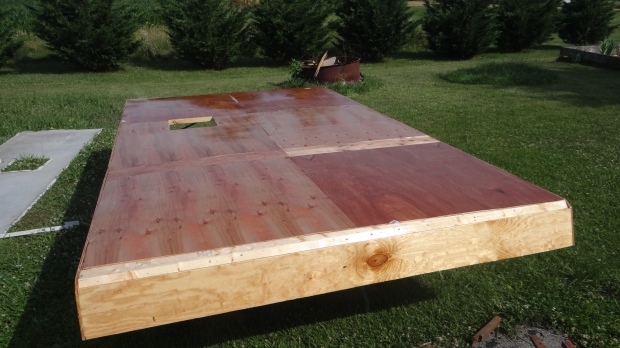
Well, after this a few days later, the roof was outside with the hardened fiberglass and it rained, but the wood stayed dry.  It was exciting.  Also when we had to work with it more we started to hate it, it would dig into our fingers and I got so many cuts.


Go to Part 4

Rebuilding The Roof – Part 2

So it has been an interesting few weeks working on the new camper roof.

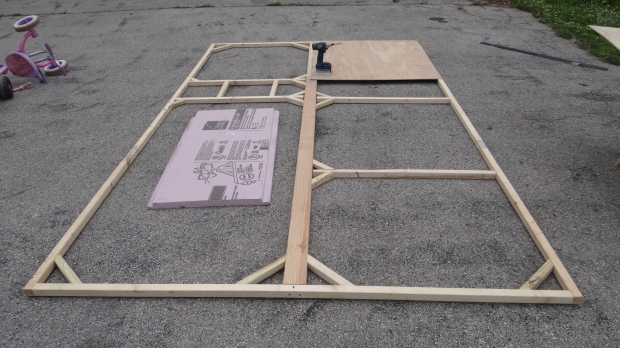
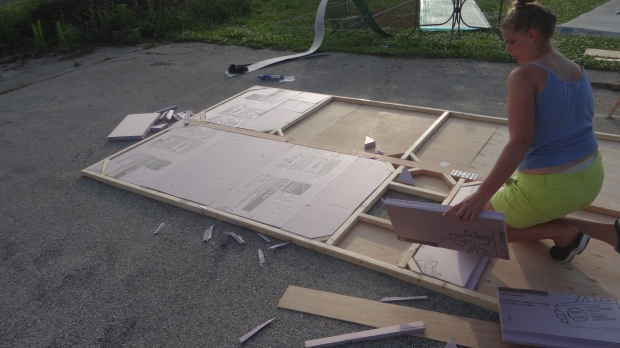
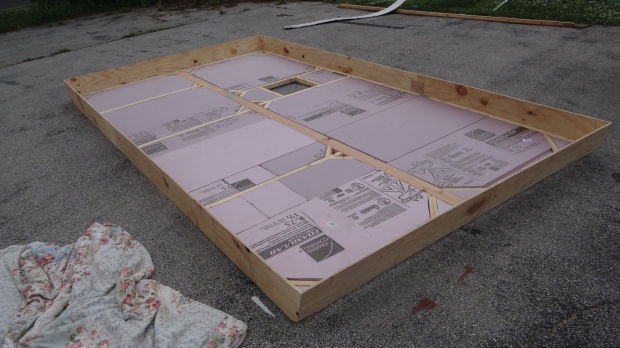
First the new frame needed made.DSC03541

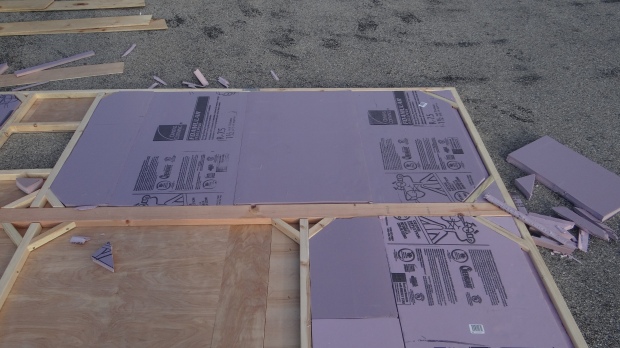
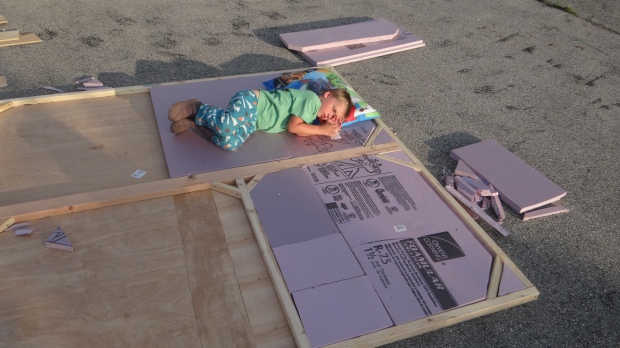
We then covered it in subflooring and filled in all the spots with insulation.DSC03547DSC03549We had a little person that wanted to help, so he got to help hold down insulation while the glue set.DSC03551

Then the sideboards.DSC03553

We ended up having a massive issue because we did not add a small piece to the sides where it would hook back up to the camper, so we are in the phase of working that out now.

Hope this helps, Go to part 3


Replacing the Roof – Part 1

So as it happens to many pop ups, the roof in ours is rotten.  and we are not talking add a bottle of silicone and pray, we are talking leaking rusty water… more on that later.  Let us get started on this project.
2016.07.04.02

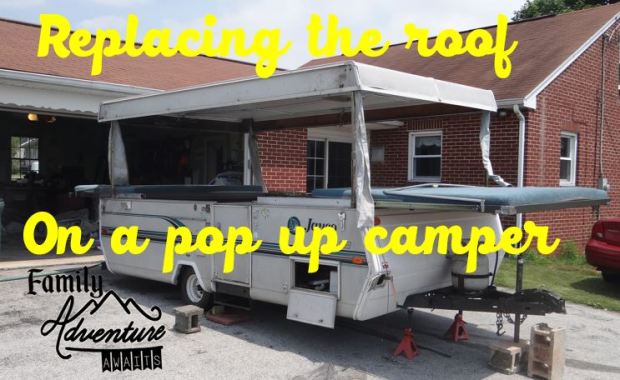
First take your roof off, we had 5 people help us out, it was heavy, in short have help, and put it someplace where you have space to rip it apart.  We knew that we would need to keep the camper dry so it went into the garage, and the roof went into the grass.

I worked on the inside of the camper first, and was able to gain a good footing there, but I knew we had get into the roof, both of us were anxious about it, because if we screwed it up, it would be bad.  First important thing, ours was done with square screws, having the correct drill bit will make the job easier.

First you have to get all the trim molding off, many people on the pop up forums used scrapers, flatheads, and hammers and forcefully pulled it off.  I had done one like this and was not happy with it, I felt like I was bending the metal.  So I started to play and found that there was a plastic trim piece that I could pull out and boom, there were all the screws.
13595660_10100947847927426_931663598_n

So I unscrewed the best I could until I found many were so rusted they had disintigrated! I always collected all the screws in a small bucket to keep and get proper replacements.  Also we had to scrape off the funky putty used for trailers in sealing them, it is sticky and nasty and we have to get new to put it back.  After that I pulled the base trim off, even though it had been dry for days around us the trim dripped with water.
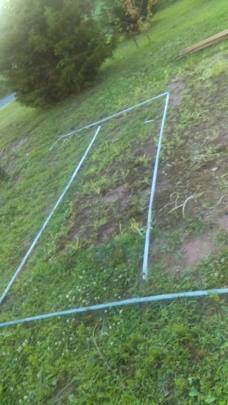
13618058_10100947848296686_35462394_n

The metal side pieces were not glued on very well and came off easily, just getting the parts of the hinges attached the wood were difficult to get off.  some hinges were great, but 3 out of 4 are terrible rusted to the screws, more on that later.

I would have liked to take a picture of the rotted wood, it was bad, a good 60% of the wood crumbled in my hands, into the burn pit it went.  I put all the wood aside, and it is still sitting there in my grass, my husband even mowed the lawn around it!

Okay, so take this time to get the ORIGINAL measurements of the roof, this will allow you to make it perfect to your camper, here is mine.
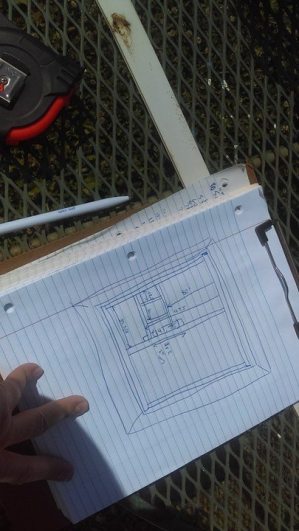
13607751_10100947847677926_586441520_n

Next I got the roof into two pieces, let me just say, shear will and some muscle I was able to do it, here is half of the roof, this piece is the interior of the ceiling.
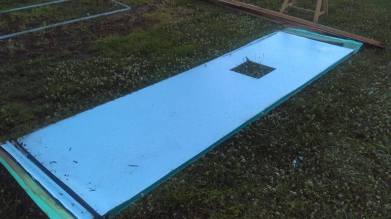
13570015_10100947848496286_952630128_o

Basically it is made doing the following, metal exterior-polystyrene-interior metal, little to no support or anything, so when it rotted it went.

I pulled the interior sheets off fairly nicely and it ended up in rolls, I hope it goes back on nicely.
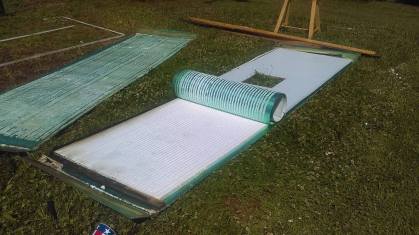
13582370_10100947847767746_952538587_o

Then I scraped off the poly polystyrene using a 7 in one tool and a hammer carefully chipping it away.
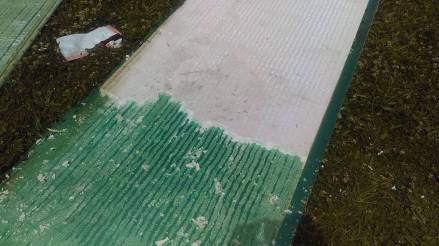
13588732_10100947847613056_877757641_o

Trust me this is a short post, but it took 4 days of work.  Mostly while my hubby was at work and the kids were outside playing.

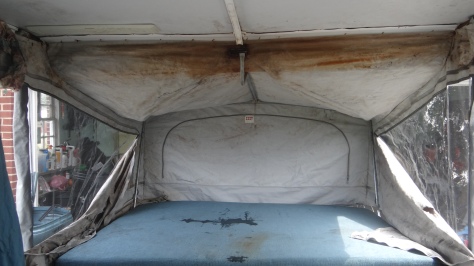
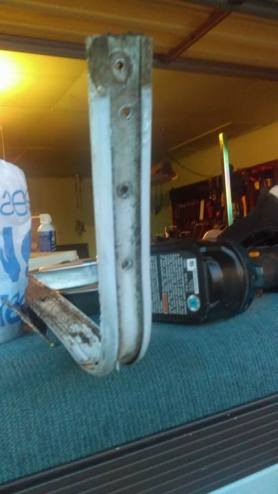
So about the rest of the rusty water, you can see the interior was discolored in this picture.
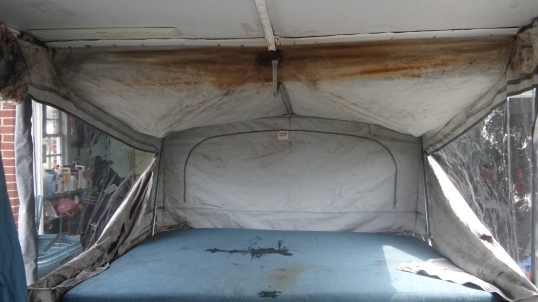
DSC03510

I originally thought this was a terrible case of mold but you can see a plastic thing on the top left of the picture.  Jayco stabilized these by gluing a piece of metal to the polystyrene and screwing this “clothes hanger” in.  The roof was protected so none of it rusted but this piece took the brunt.


Go to part 2


Saturday Continues to Sunday

Fiberglass in hand, we continue, what is step 1 of a camper redo?  Take the top off… ummm sorry canvas.

DSC03519

As I stated before, there was significant water damage to the roof, we called everyone we could, seriously some amazing friends and neighbors who helped us raise the roof and put it in the back yard.

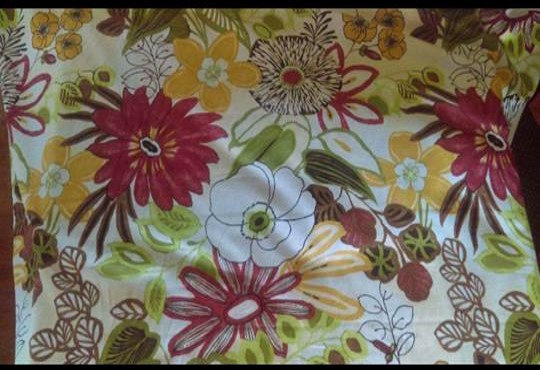
So we are able to roll our topless trailer into the garage.  So the body is in great shape, but we want to make this a very comfortable home away from home, so I wanted to redo the interior, this includes my fabric choice here for the curtains, it is the basis of everything we will be doing in the camper.

DSC03532a

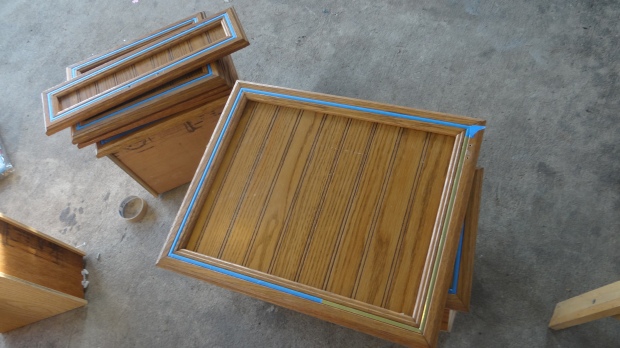
The camper is full of what I think is MDF or thin plywood with veeneer placed on top.  We took out all the doors and drawers, and as a design choice, added blue tape over the brass fittings.

DSC03527

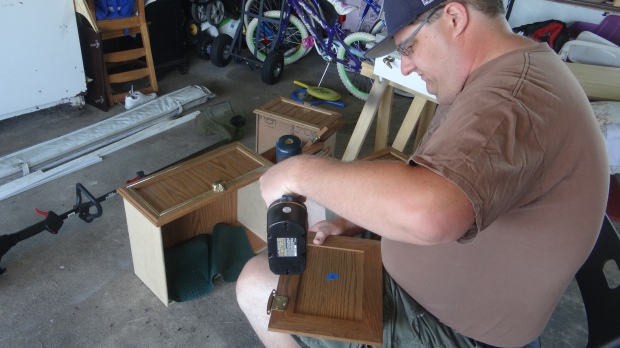
Here is my wonderful dear husband taking off loads of hardware.DSC03520

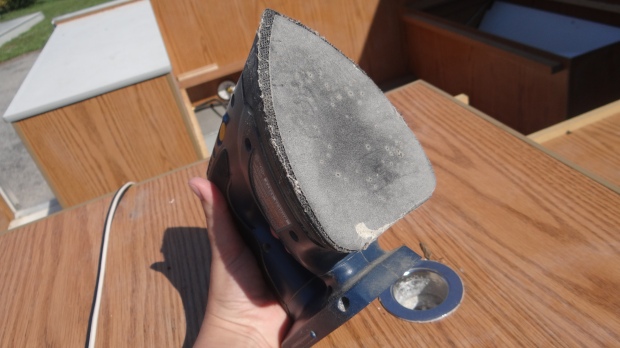
I took my trusted sander, made by Ryobi hereDSC03524

I love this sander, sometimes it feels like the triangle loose their sandpaper-ness too easily, but other than that I am always happy with the results.DSC03522I scuffed up all the surfaces, just enough to get some grip for the paint.  Now I know someone likes all of this “wood” and it was in nice shape, but I felt we needed to help seal up a few mold spots and the mildew smell.

I ended up using Zinsser super primer on the wood, two coats, this took about a half of gallon.  You can get this delivered through Amazon here.

For the “white” which is actually a light grey, it was left over from a few exterior projects.  it was the Valspar which we had purchased from our local Cashman’s True Value.  I love going there, they are always nice and non judgemental on my projects.

The red was an oops paint for Gidden from Home depot, the can cost $7.50 for the gallon.  This was extremely different paint than what I was used to, it was very watery and to get the cabinets this red, it took 5 coats or so.  To be honest I wasn’t happy with how it went on, but I think it looks good in the end and I am super tired tonight!

Also my hubby and I were able to hash out a logo last night, may we present, Family Adventure Awaits.

logo01


Mini Road Trip Saturday!

So we got the trailer on Friday and it is now Sunday, and I am sure it is looking like a very different camper on the inside.

Our adventure started on Saturday, we knew that we would have to redo the roof and fiberglass seemed the way to go.  We found www.fiberglasssite.com and found out they were based outside of Baltimore about an hour from us.  What luck, morning road trip!! We packed into the car and headed out.  Many times when we travel we need this thing called gas for our van.  So we found a great convenience store in Maryland, for gas it was 2.15 a gallon, let us talk about exciting to us!

We also found the biggest can of Coke for 99 cents.

Not to our destination so we continued on and about 30 minutes later arrived.  The man at Fiber Glass Site happened to be working that Saturday so we were able to discuss in detail what we were going to do and he was able to calculate how much fiberglass and resin we would need.  We ended up purchasing 1.5 oz chopped mat, a 5 gallon bucket of polyester resin, and a roller thing with spikes.

Note: We ended up spending about $200 on this part of the project, but the materials are pool grade so if it ever leaks it will be surprising,do it once do it right.

DSC03526

I highly suggest if you are looking at replacing the top of your camper looking into this, if you are doing tons of work, then best to make it as tight as you can.

We then got to have some family road trip fun and go across the street from the fiberglass place to a pizza shop, This is Hilltop Pizza.  We order a large cheese pizza and a 2 liter of coke for the family and with a bill of $9, mommy the accountant was very happy!


We headed back out to our home and picked up a can of paint at Home Depot on the way, it was the perfect oops shade!

Our Family Adventure Awaits

Our family has a tradition of turning a weekend into a memorable day road trip.  In a world where you can become too focused on your destination, we like to find a journey.  Last year we took a road trip through Ohio and ended up tent camping in places we had never dreamed of.  It was wonderful, the sense of adventure the unknown journey, if we wanted to go left we went left, when we decided we needed to get to a hotel we found it.  But now we are on a new adventure.  We bought a camper.

DSC03492

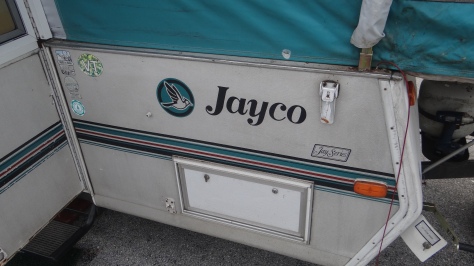
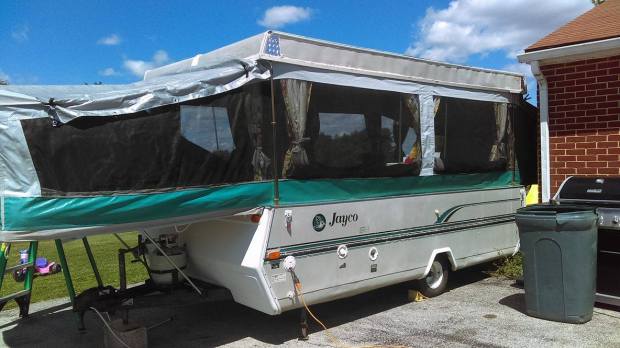
It is a 1995 Jayco KB, here is a list of the current real issues

  • Mold/mildew on the canvas
  • Rotted Roof
  • New Curtains

So the good things, the bottom part of the trailer is in great condition, but another month or two it could have been in real trouble.

A list of things that need done in my opinion,

  • Clean and make new covers for the dinette and sofa
  • Wash the mattresses
  • Paint the cabinets and walls
  • New floor
  • Upgrade the king sized bed to have a mattress topper on it

How about we give you the 10 cent tour:

DSC03494

I think I would like to remake the vinyl on the sides, that will happen some day…

DSC03496

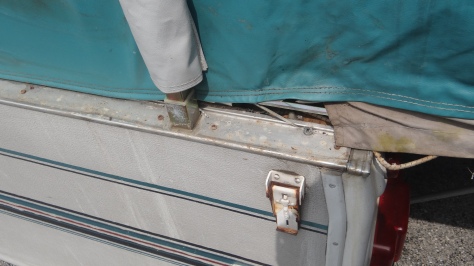
Here is a closer picture, rain was getting in and rotting things, like I said another month or two this would have been serious trouble.

DSC03507

Here is the Queen sized bunk.  I am so happy that this camper has tons of room, but as you can see, it needs loads of lovin’. The water had made the roof sink and all the wood is rotted on that end of the camper so we will be replacing the roof.  On the sides the canvas that is on the windows needs replaced.  I don’t think it will be too difficult, also the corners need some more vinyl added. Really glad I am a seamstress!

DSC03510

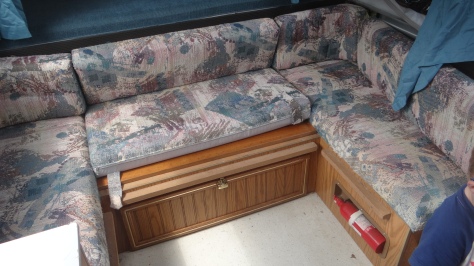
The sofa is very functional, but the cushions are very 1995.

DSC03516

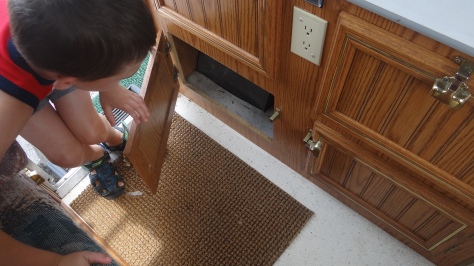
Cabinets, fantastic shape!

DSC03517

Our Family Adventure Awaits!!