Ready to camp!

So she is a month overdue, but it was worth the wait, may I present our finished camper!

14124212_10100996021686826_441199511_o14124208_10100996021646906_1258719440_o14113835_10100996021387426_1216111417_o14111833_10100996021542116_1494752434_n14060180_10100996021477246_623005628_o14075010_10100996021402396_1856628382_o14060137_10100996021357486_817657525_o14075009_10100996021362476_764996165_o14114126_10100996021422356_1079408666_o

Still have loads of little jobs to do, put the screen back in the door and fix the door jamb, but now the camper is water tight and ready for a driveway adventure!

Remaking side outs

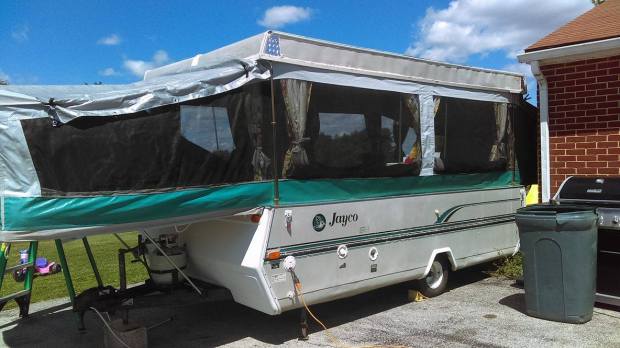
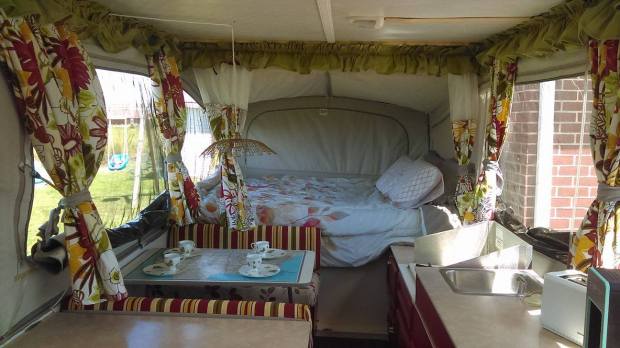
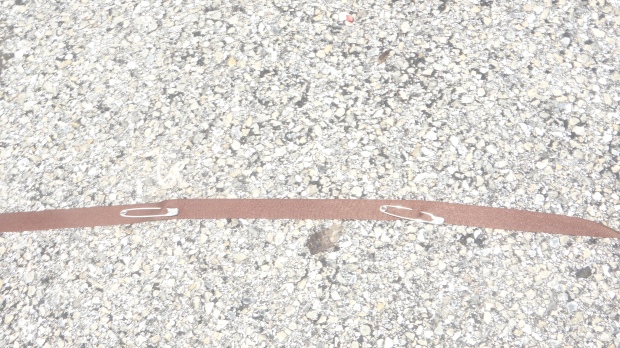
So I have thrown around many incorrect words in my learning curve, I called it the canvas was in good shape, well ours had an upgrade, it was vinyl over fabric, just the windows and binding were canvas.  They were deteriorating because of the mildew on them.  I ended up detaching the windows and cutting the fabric bits off. and using them to pattern out the new parts.  I used outdoor fabric from Joanns here. Lets start with the edging that holds the elastic.

DSC03598

I used some scrap ribbon and safety pins to mark where the grommets were suppose to be for the ins and outs.

DSC03599

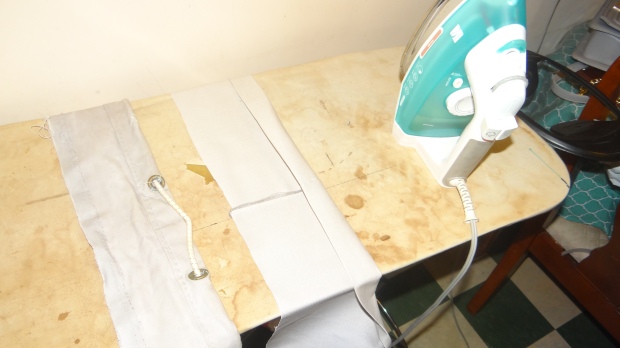
I then measured the width and cut about 4.5 strips and serged them together.  I then used my iron and pressed the hem in.

DSC03597

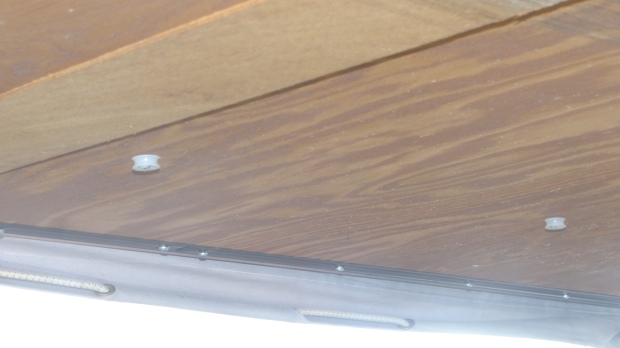
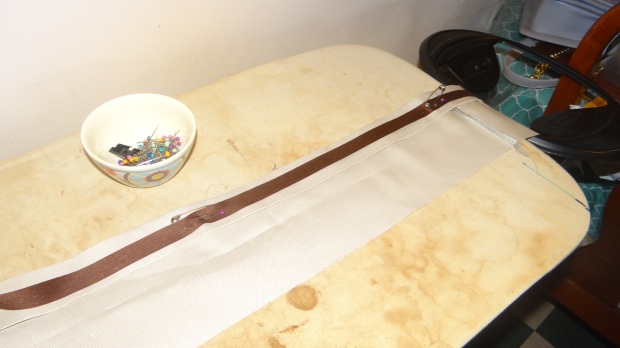
Then using the ribbon as a guide I added the grommets.

DSC03601DSC03602

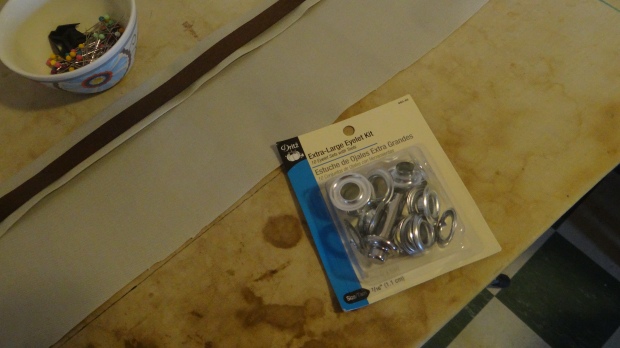
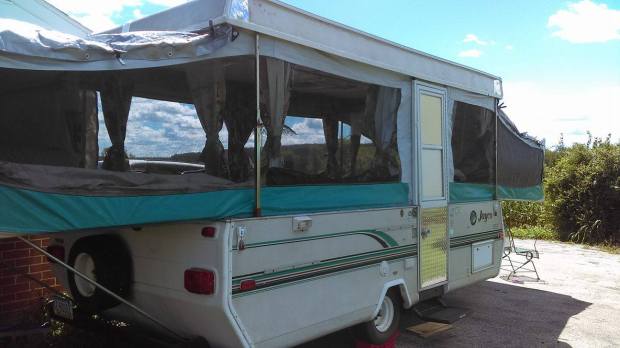
After the grommets I sewed the straight seam of the hem.  I then used this elastic off of amazon and threaded it in and out of the appropriate holes.  I then looped it at each  and then took my machine outside and added the new strip to the canvas.  The elastic was tight.  Then I finished with 303 Fabric Guard, amazing stuff by the way.  For the windows I simply used the old ones and made a pattern.  I then hand sewed them to the zippers that I did not remove from the canvas and then used the 303 Fabric guard again.  It took several hours but I didn’t have to spend $400 plus on a new sideout of vinyl.

Roof Rebuild Part 4

So commence the list of swear words we used trying to get the aluminum to fit…


…. wait, this is suppose to be family friendly, so we can skip the list.  We did end up getting the aluminum back on, but in that we found we had to use decking finishing screws to get the ridge for the sealer back in place.  they were also 1 1/4 screws.  Once it was all back together we put all of the trim pieces back on.  I then used the prescribed sealant this was the best I found it holds well and kept to aluminum skin nice.

We also installed a new vent that had a fan included.  Here is the one we purchased

After we did that we let the camper sit closed after a rain storm and there were puddles on the roof.

DSC03592

So today, after a considerable amount of thoughts, we have added Eterna Bond over the sealant and down the middle seam.  This was an amazing product and I am very happy with how it settled down, it was a simple and clean application

Here is what the roof looks like now.

14055594_10100993094567796_912137787_n