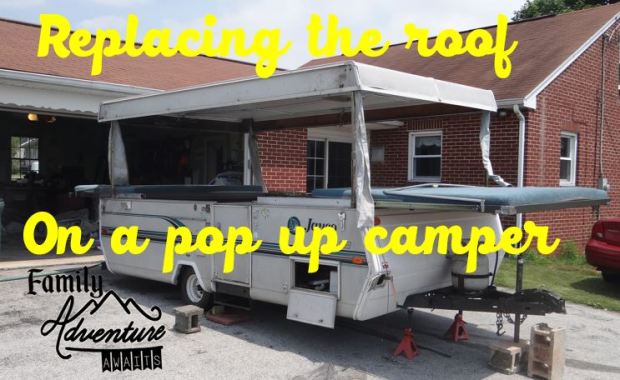
So as it happens to many pop ups, the roof in ours is rotten. and we are not talking add a bottle of silicone and pray, we are talking leaking rusty water… more on that later. Let us get started on this project.
First take your roof off, we had 5 people help us out, it was heavy, in short have help, and put it someplace where you have space to rip it apart. We knew that we would need to keep the camper dry so it went into the garage, and the roof went into the grass.
I worked on the inside of the camper first, and was able to gain a good footing there, but I knew we had get into the roof, both of us were anxious about it, because if we screwed it up, it would be bad. First important thing, ours was done with square screws, having the correct drill bit will make the job easier.
First you have to get all the trim molding off, many people on the pop up forums used scrapers, flatheads, and hammers and forcefully pulled it off. I had done one like this and was not happy with it, I felt like I was bending the metal. So I started to play and found that there was a plastic trim piece that I could pull out and boom, there were all the screws.
So I unscrewed the best I could until I found many were so rusted they had disintigrated! I always collected all the screws in a small bucket to keep and get proper replacements. Also we had to scrape off the funky putty used for trailers in sealing them, it is sticky and nasty and we have to get new to put it back. After that I pulled the base trim off, even though it had been dry for days around us the trim dripped with water.
The metal side pieces were not glued on very well and came off easily, just getting the parts of the hinges attached the wood were difficult to get off. some hinges were great, but 3 out of 4 are terrible rusted to the screws, more on that later.
I would have liked to take a picture of the rotted wood, it was bad, a good 60% of the wood crumbled in my hands, into the burn pit it went. I put all the wood aside, and it is still sitting there in my grass, my husband even mowed the lawn around it!
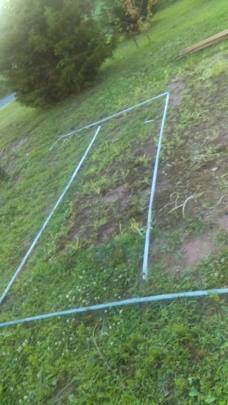
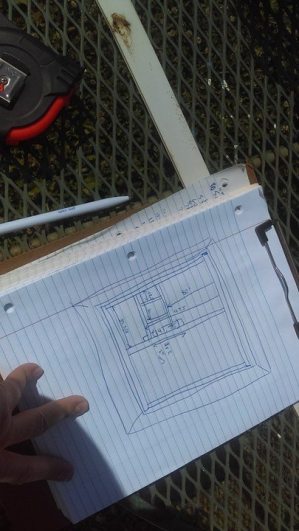
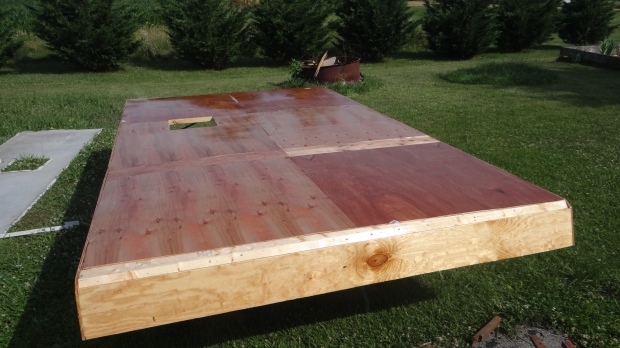
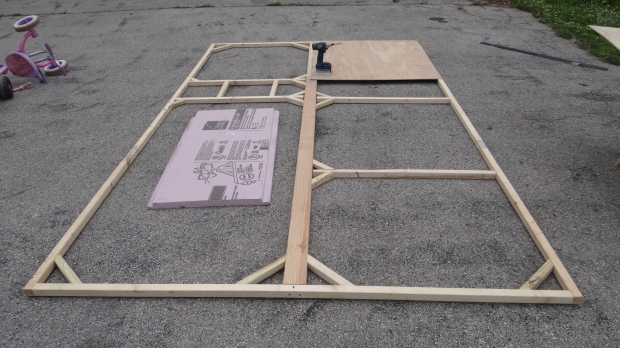
Okay, so take this time to get the ORIGINAL measurements of the roof, this will allow you to make it perfect to your camper, here is mine.
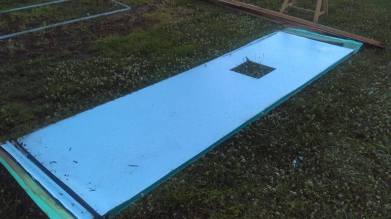
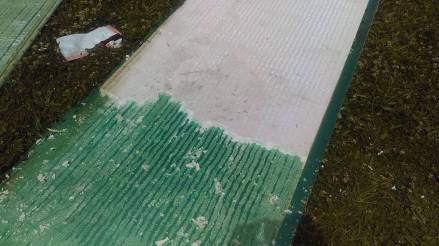
Next I got the roof into two pieces, let me just say, shear will and some muscle I was able to do it, here is half of the roof, this piece is the interior of the ceiling.
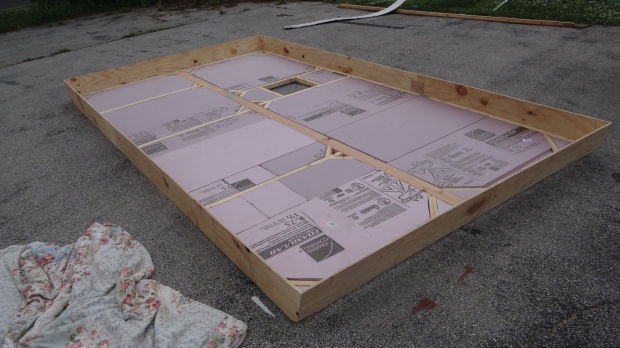
Basically it is made doing the following, metal exterior-polystyrene-interior metal, little to no support or anything, so when it rotted it went.
I pulled the interior sheets off fairly nicely and it ended up in rolls, I hope it goes back on nicely.
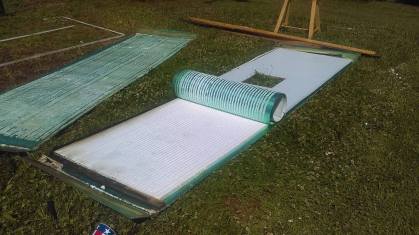
Then I scraped off the poly polystyrene using a 7 in one tool and a hammer carefully chipping it away.
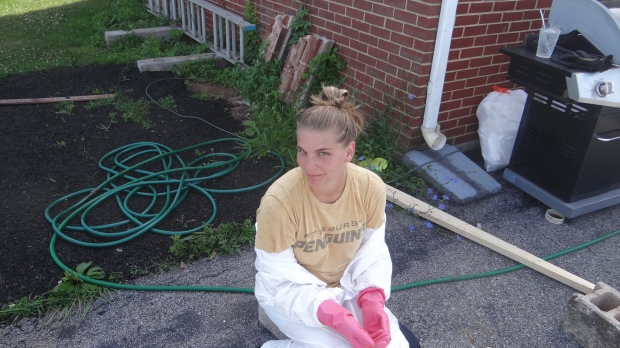
Trust me this is a short post, but it took 4 days of work. Mostly while my hubby was at work and the kids were outside playing.
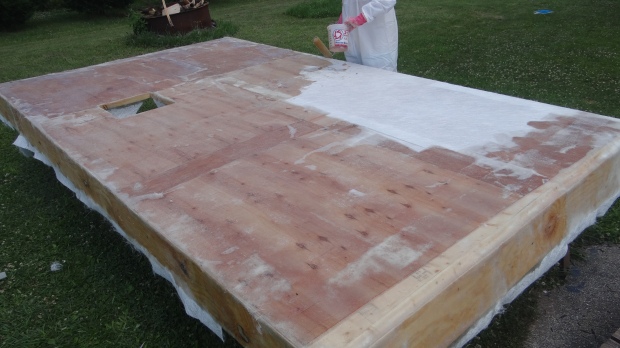
So about the rest of the rusty water, you can see the interior was discolored in this picture.
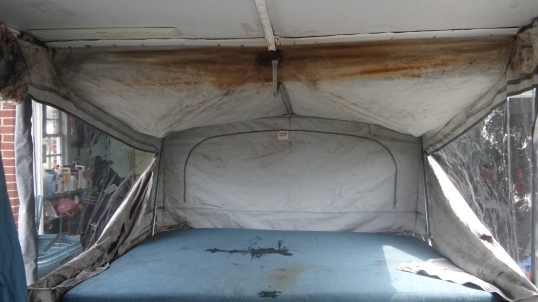
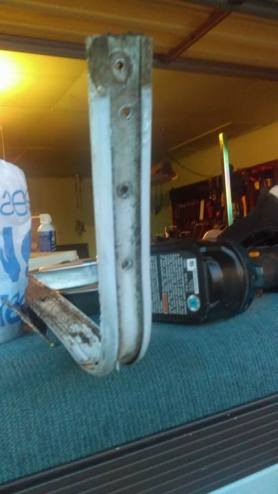
I originally thought this was a terrible case of mold but you can see a plastic thing on the top left of the picture. Jayco stabilized these by gluing a piece of metal to the polystyrene and screwing this “clothes hanger” in. The roof was protected so none of it rusted but this piece took the brunt.
Go to part 2

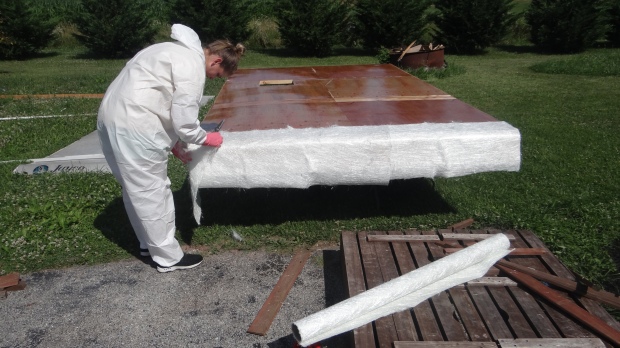
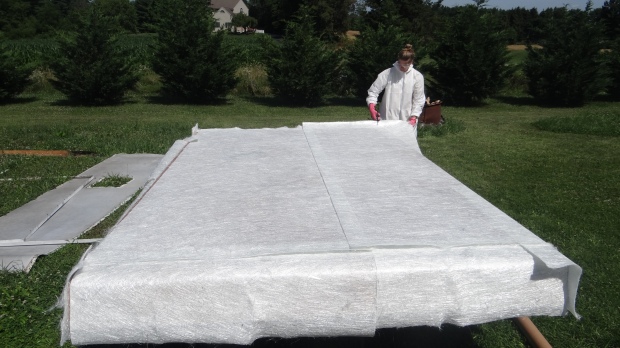
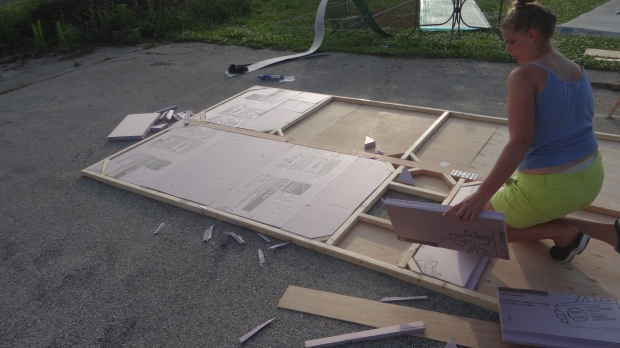
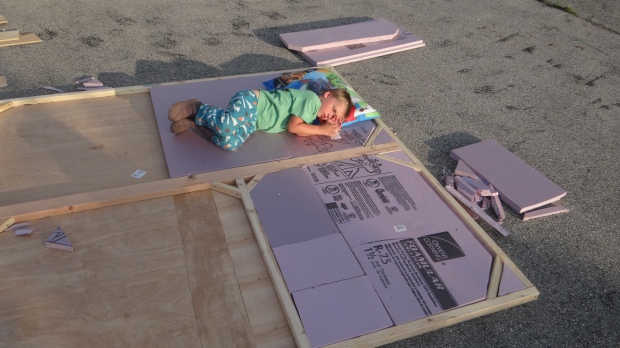
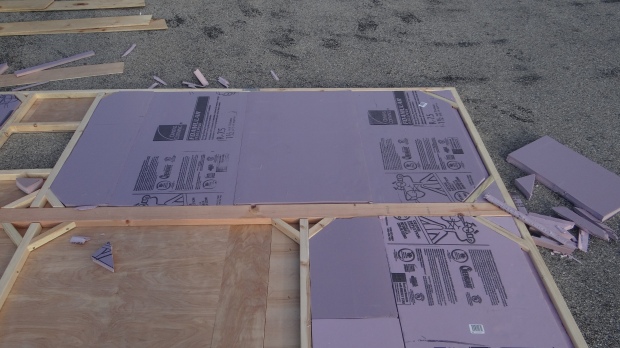 We had a little person that wanted to help, so he got to help hold down insulation while the glue set.