Fiberglass day!!!
To do this, you need the following, three new paint trays, 2 of which will be scrapped, so don’t spend a ton. We used 2.0 oz and 1.5 oz chopped mat from fiberglasssite.com. We also used polyester resin, 5 gallon bucket. You will also need 1/4″ mat rollers (2) and 2 paint roller frames.
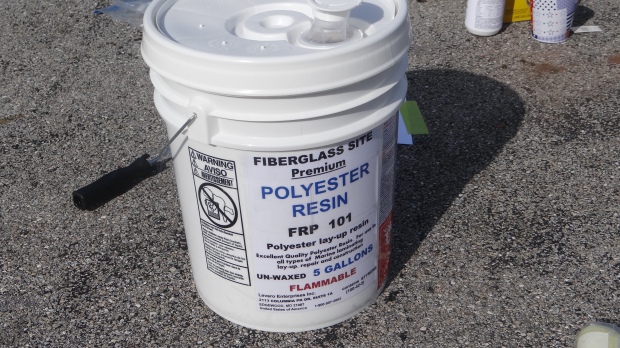
You have to know how hot it is outside when mixing the hardener with the resin. Also we invested in a paint stirring thing for the resin and it helped us a great deal.
Once mixed, take your first roller and apply. The wood will absorb the first coat, so we had to put two coats on. You want the resin in the final coat to be sticky but not puddle wet.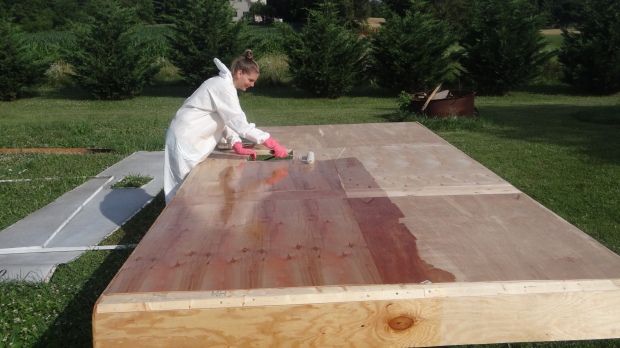
This was after the second coat and I was giving it an hour to really absorb into the wood. It was about 90 at 9 in the morning, so it was a really hot day.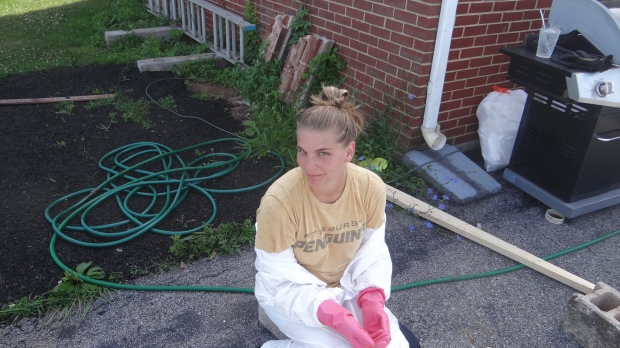
Next I laid out the chopped mat, this is where my dishgloves came in handy, they get covered in chopped mat and resin. Also, see those wrinkles along the edge, they are your worst enemy, it was bad and it was terrible when we got to other parts.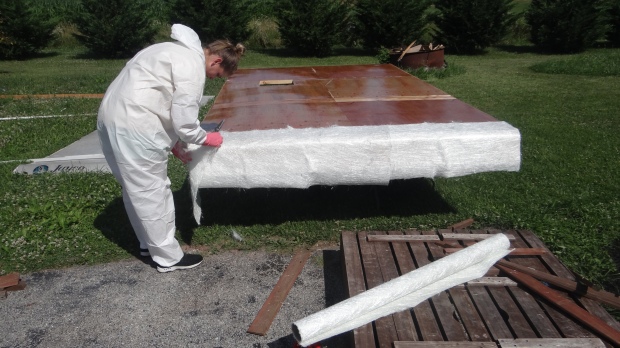
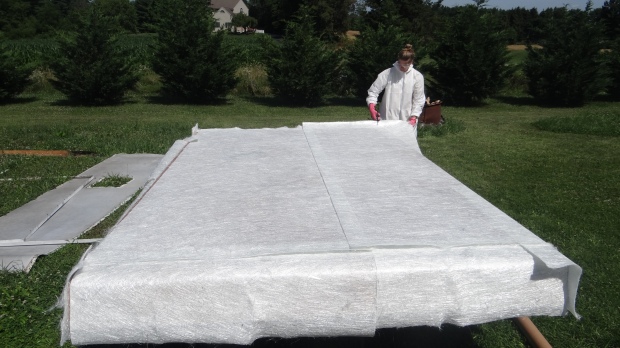
Next applying the coat of resin to the chopped mat, it was really cool to see it go see through, but the resin dried quicker and I had trouble keeping up with it and getting the mat to be flat against the wood.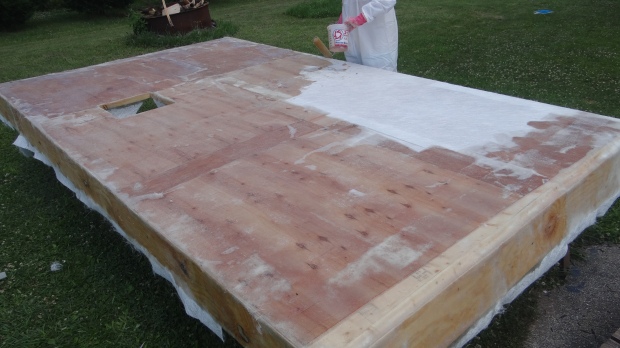
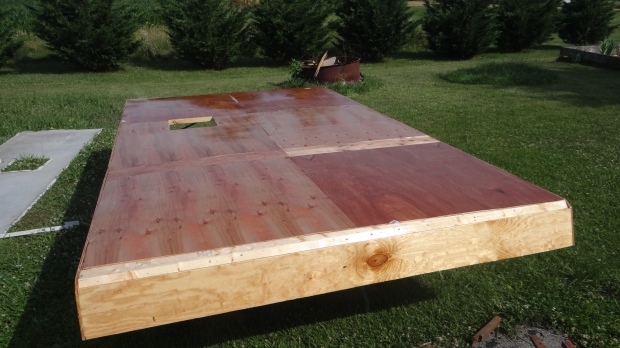
Well, after this a few days later, the roof was outside with the hardened fiberglass and it rained, but the wood stayed dry. It was exciting. Also when we had to work with it more we started to hate it, it would dig into our fingers and I got so many cuts.

One thought on “Rebuilding the Roof – Part 3”